Equipment
- Chalk
- Chalkline
 |
|---|

Checklist
Gather materials
- Chalk line
- Chalk
- Measuring tape
- Straight edge
Prepare the surface
- Clean and dry the surface
Determine the line placement
- Measure and mark the line placement lightly with chalk
Load the chalk line
- Open the chalk line and fill it with chalk powder
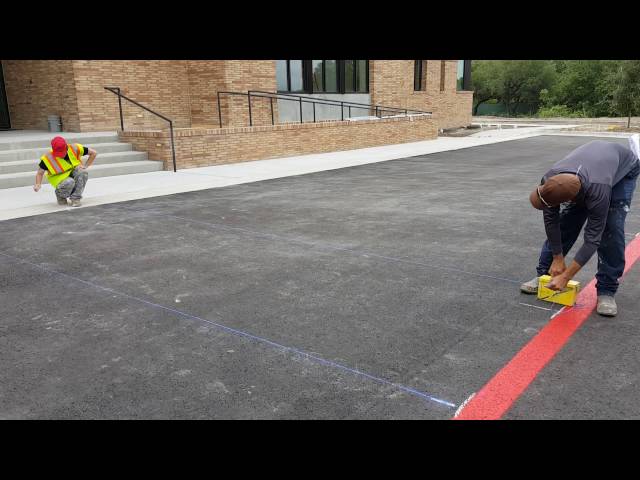
Set the line
- Place one end of the chalk line at one end of the line you want to mark and secure it
- Hold the other end of the line taut and perpendicular to the ground
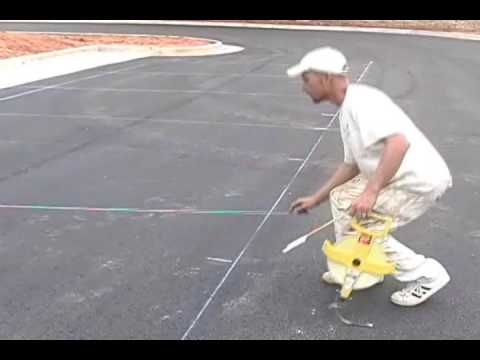
Snap the line
- Use a quick flick of the wrist to snap the chalk line against the surface
- Snap it away from your body to avoid getting chalk on your clothes
Check the line
- Step back and check the placement and straightness of the line
- Use a straight edge to make any necessary adjustments
Repeat
- Repeat the process for all the lines you need to mark
Clean up (optional)
- Remove any excess chalk using a broom or blower
Start painting
- Begin painting once all the lines are snapped and checked
Remember to wear appropriate PPE
- Gloves
- Eye protection
- Mask
By following this checklist, you can ensure that the parking lot lines are marked accurately and efficiently using a chalk line
FAQ
what’s the diff chalk line red, white, blue or green?
- For Parking lot (Always choose White, Blue, Orange or Red)
- Blue chalk is a bit easier to see than white, and it wipes off relatively well.
- It can leave a blue residue on some surfaces, but it will fade away over time.
- Red is easier to see and formulated to be more permanent than blue.
- Warning: Red, yellow, and fluorescent chalks are permanent colors. There is no known way to remove them.
Videos